📍 Quick Answer
The microGREEN FX adult class covers 8 specific topics over 3 hours: seed sourcing and germination testing, water source decision tree, substrate selection (coconut coir vs MicroThrive Soil vs hemp mat), seeding density and blackout protocol, environmental controls (temperature, humidity, airflow, light), mold prevention and identification, harvest timing and tools, and storage for maximum shelf life. Students leave with a planted tray, supplies for 5 more, and 30 days of text-message support.
Most workshops give a vague headline ("learn to grow microgreens") and never tell you what they actually cover. We are going to walk through our adult class topic by topic so you can decide whether it fits what you want to learn. 📚
The class is 3 hours, 10 to 12 students max, on our working family farm in Schwenksville, PA. The curriculum is built around the variables that determine whether a home setup is repeatable past month 3.
Hour 1: Seed, Water, and Substrate 🌱
- Seed sourcing. Where to buy, what to ask the supplier, how germination test data is reported, what a 95 percent germination rate looks like vs 80 percent in actual trays.
- Water source. Tap vs filtered vs rainwater. Chlorine impact on sensitive varieties (basil, sunflower, beet). Decision tree based on the student's home water.
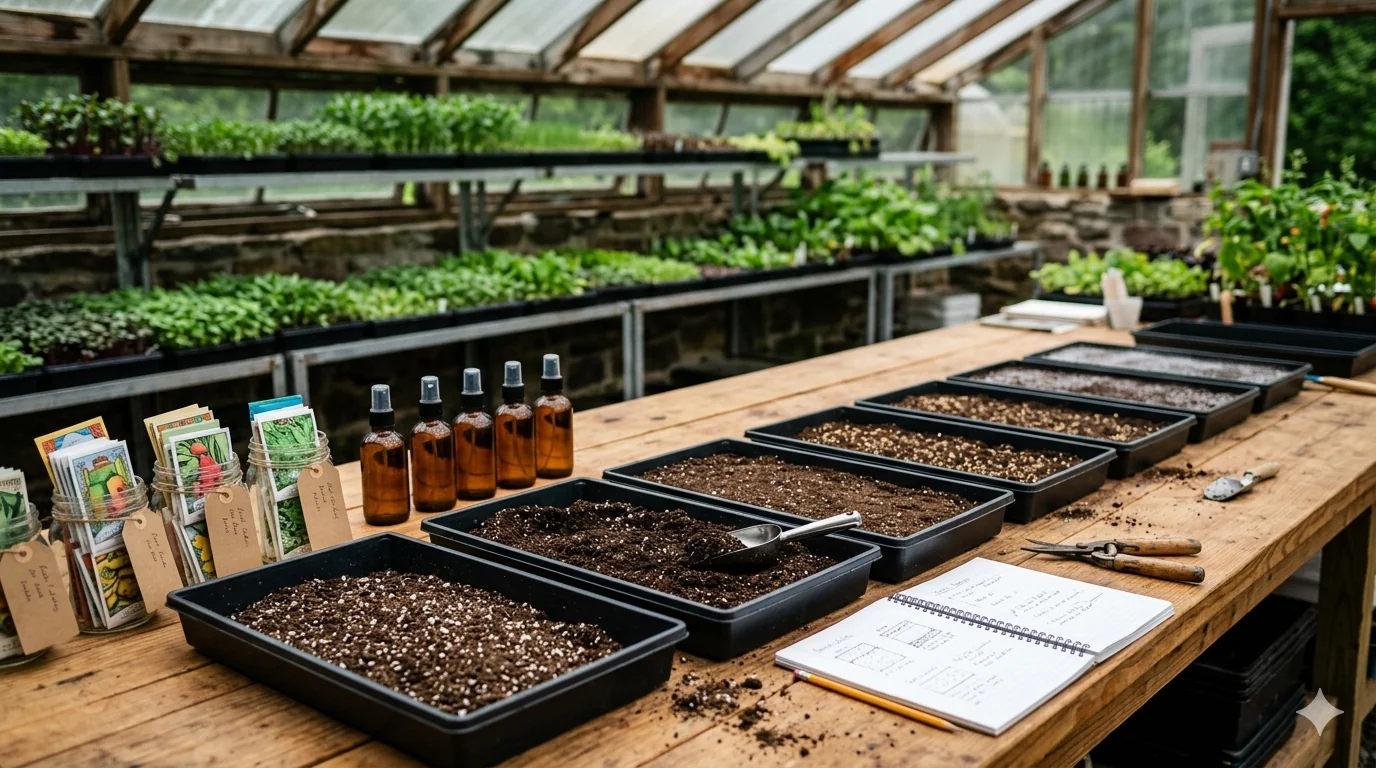
- Substrate comparison on the bench. We have coconut coir, MicroThrive Soil, and hemp mat side by side with planted trays at the same age. Students see the differences with their own eyes and pick what fits their kitchen.
Hour 2: Setup, Environment, and Mold 💧
- Seeding density. How many grams per tray for each variety. Too dense and you get mold. Too sparse and yield drops.
- Blackout protocol. The 3 to 4 day dark period that drives stem elongation. Why we use a second tray as a blackout cover and not a paper bag.
- Environmental controls. Temperature, humidity, airflow, light spectrum. The interactions between them. Why a basement with no airflow is the most common mold trigger.
- Mold prevention protocol. Specific actions in order that drop the mold rate to 1-in-30 trays. Includes water treatment, airflow setup, and seeding density.
- Mold vs root hair identification, live. We open a 10-day root mat. Students see and feel the difference. After this hour, students stop guessing.
Hour 3: Harvest, Storage, and Q&A 🥗
- Harvest timing. When to cut for max nutrition vs max yield vs max flavor. Variety-specific guidance.
- Harvest tools. Scissors vs knife vs harvest comb. The tradeoffs. Why we hand-cut on the farm.
- Storage for max shelf life. Cold chain, packaging, and the 6-week shelf life protocol we use commercially.
- Open Q&A on student's home setup. Each student walks through their kitchen environment and we map a custom recipe.
- 30-day text support setup. Students get our direct number for problem-tray photos.
What You Leave With 📦
- One freshly planted tray ready to harvest in 10 to 14 days at home.
- Substrate and seed for 5 more trays.
- Written troubleshooting guide covering every failure mode we discussed.
- Direct text-message access to us for 30 days for any problem tray.
- A walkthrough of the working farm production rooms.
- A tasting of 4 to 5 freshly harvested microgreen varieties.
A Few Calibrating Questions 🤔
- Are you trying to grow microgreens for personal eating, to sell at a farmers market, or to start a small commercial operation? The class is designed for the first two, with notes for the third.
- Have you done any indoor growing before, or is this your first time?
- What is your kitchen or basement setup like in terms of space, light, and airflow?
- Does the curriculum above cover what you wanted to learn, or is there a gap we should discuss before you sign up?
Reserve a Spot in the Next Class 🌿
Adult classes run regularly at our Schwenksville, PA family farm. Class size capped at 10 to 12 students so each person gets attention on their specific home setup.